We use analytics cookies to understand traffic and improve Vizterior. They load only if you accept—declining won't limit the site in any way. See our Privacy Policy.
Bring the space you have, describe what you want to explore and keep developing the useful results. You do not need every design decision settled before you begin.
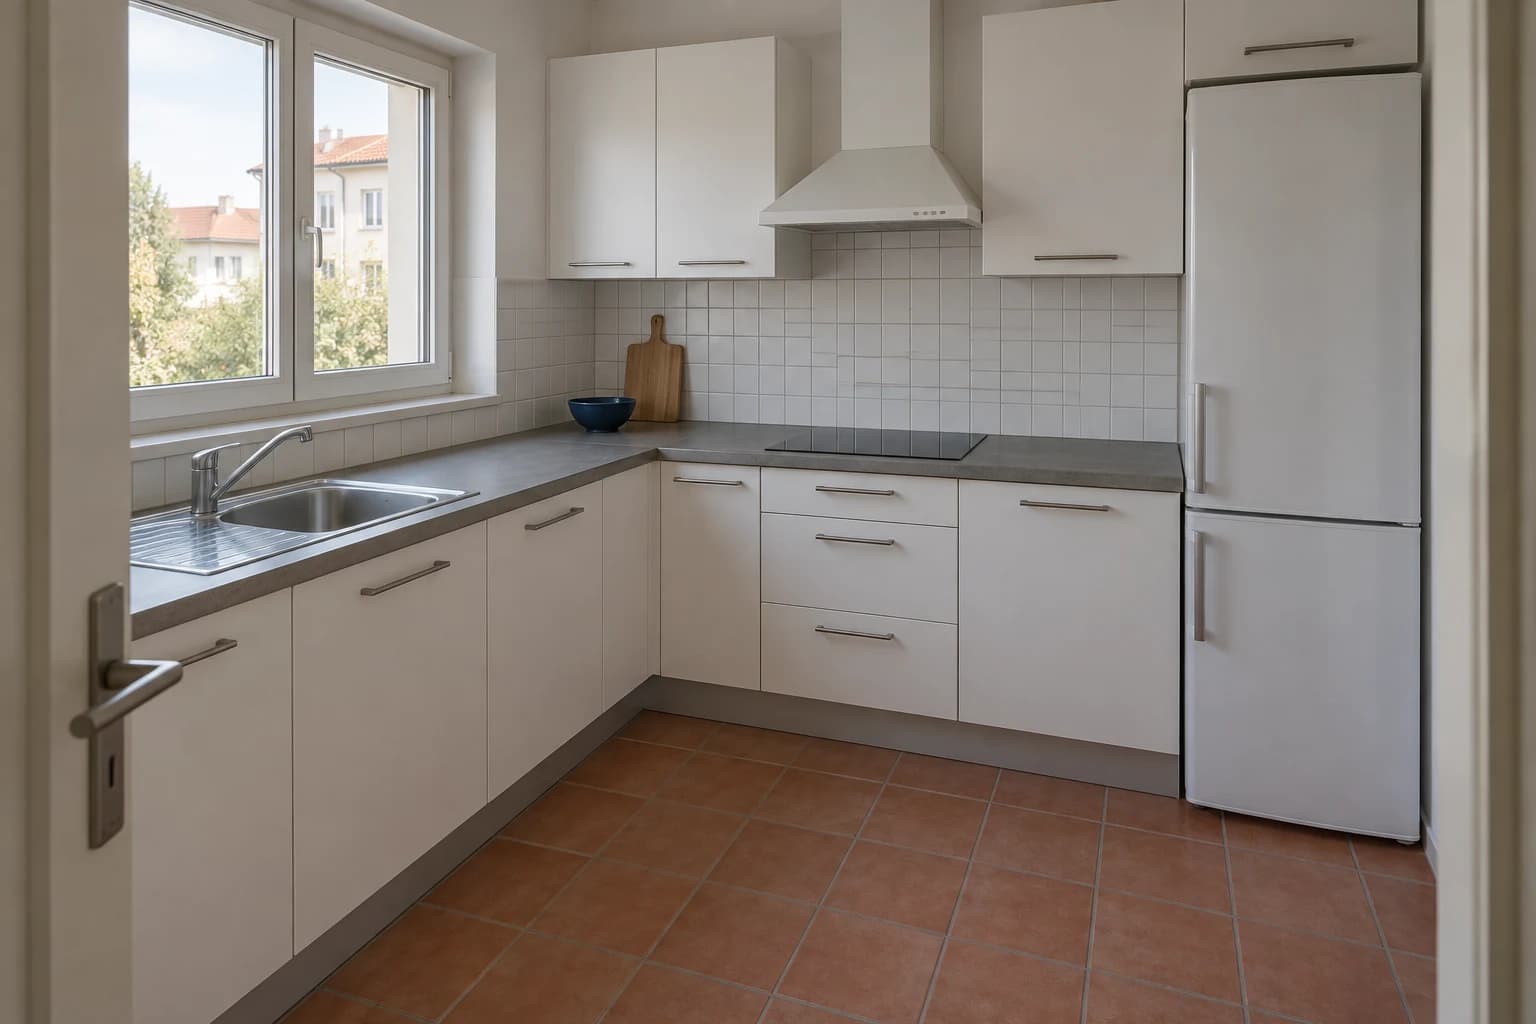
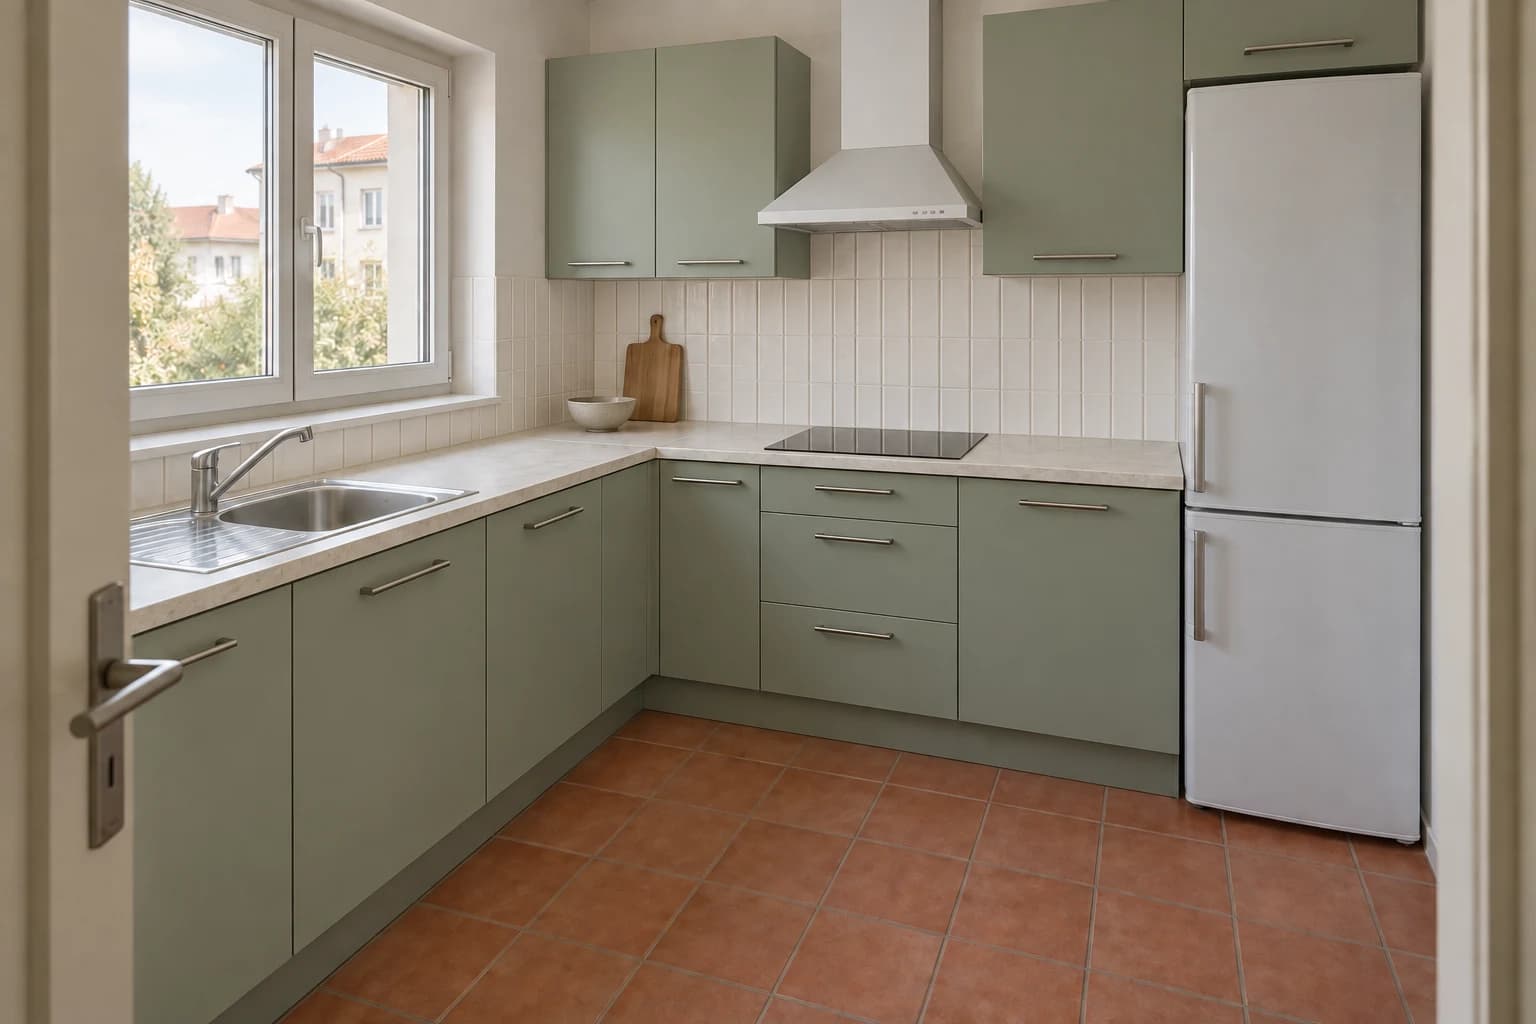
The kitchen we start withA more expressive material direction
01 / Start with a decision
You have a room. What would you like to feel different?
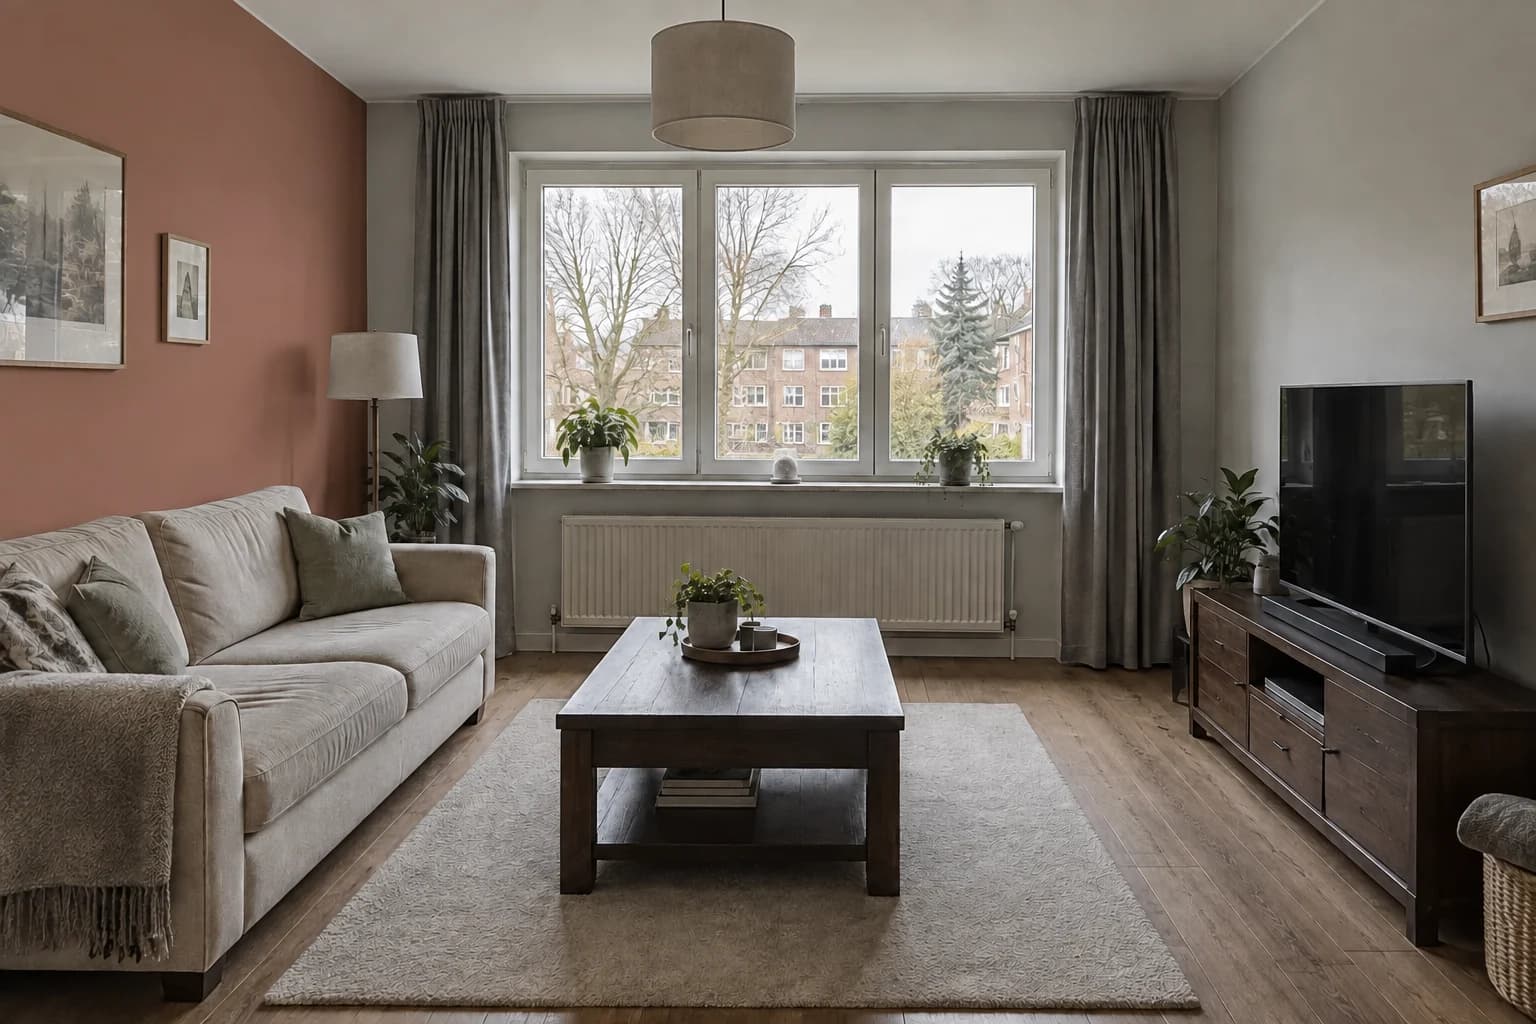
A useful interior design workflow begins with a question you can recognize in an image. Perhaps the kitchen feels too plain, the bedroom lacks warmth or the living room needs a stronger color story. A photo gives that question a specific setting.
Choose the elements that are open to change and the ones that should stay recognizable. In this kitchen example, the existing arrangement and terracotta floor provide the context. The first decision is about the cabinet palette, rather than a new layout or different appliances.
Start with a clear photo of the room.
Name the decision you want to explore.
Identify the features that matter to keep.
02 / Follow the kitchen
A first concept makes the next choice easier.
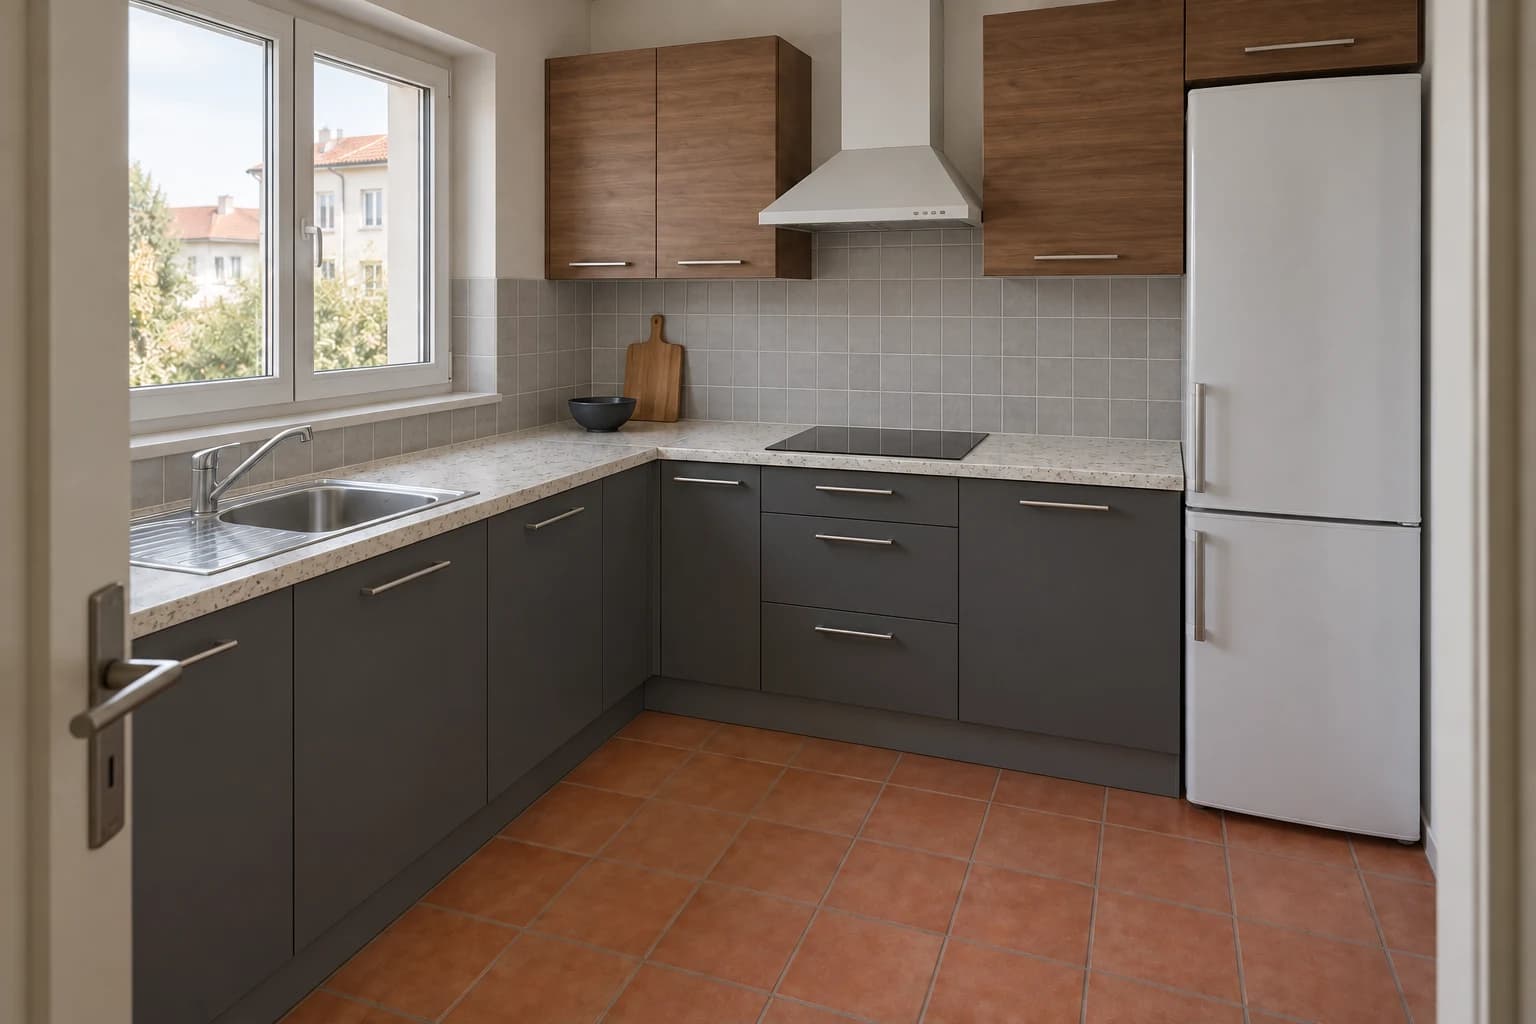
The first concept combines graphite lower fronts with walnut upper cabinets. Seeing those materials against the existing floor makes the direction easier to discuss. The next question is smaller: would a richer splashback make the palette feel more personal?
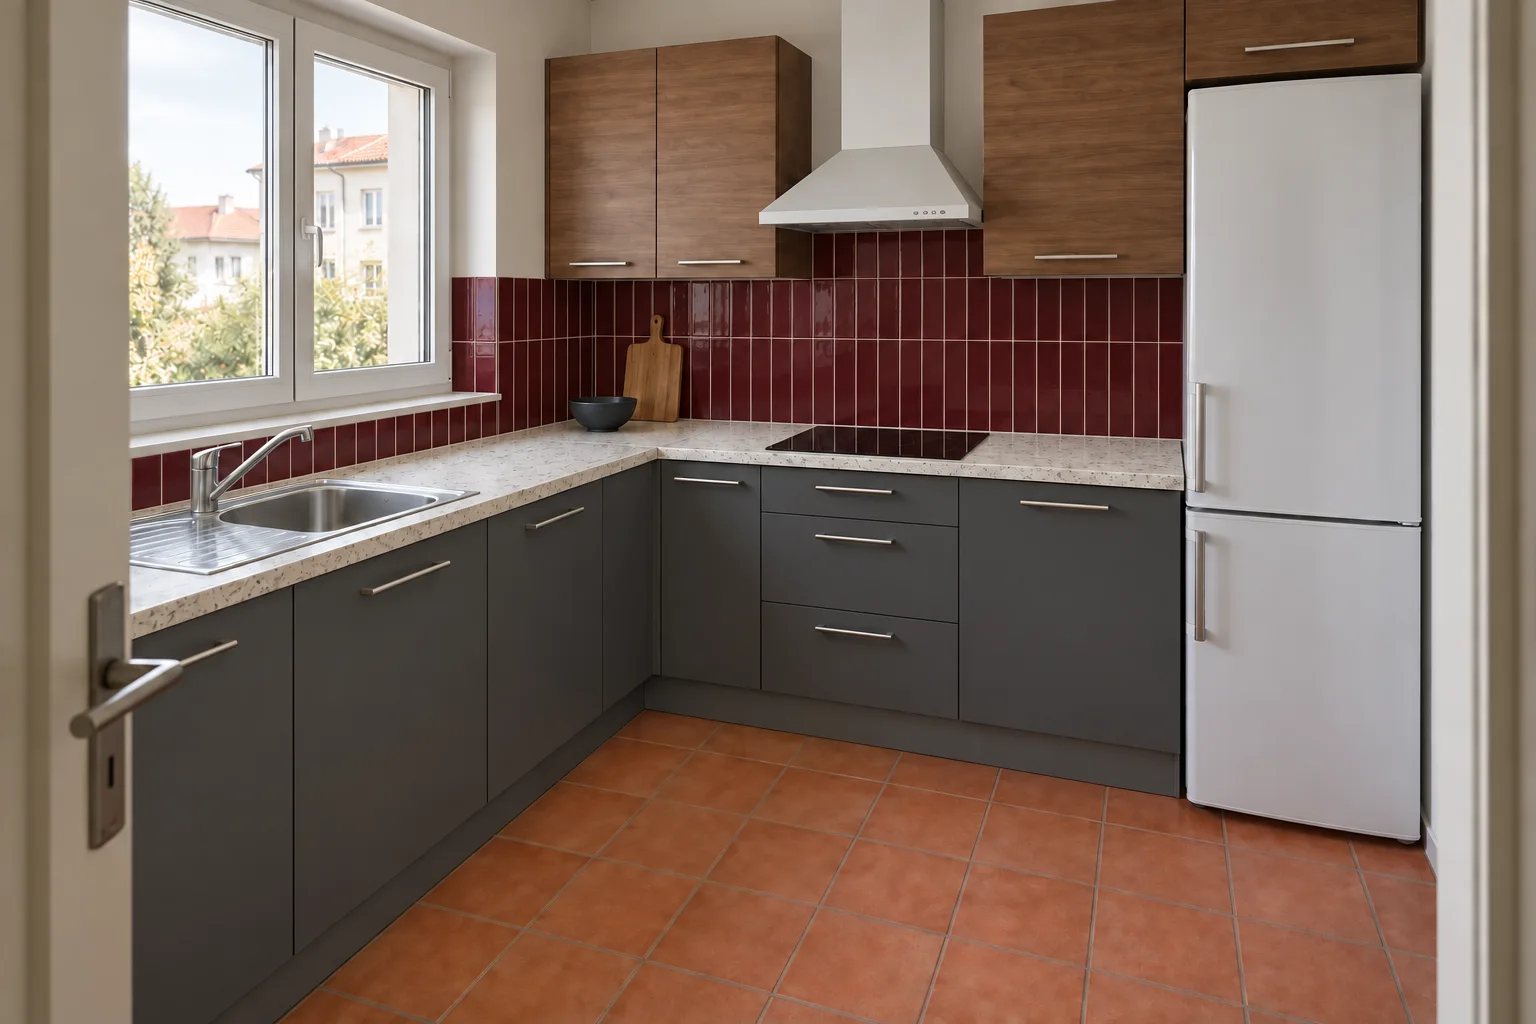
The follow-up introduces burgundy glazed tile from the graphite-and-walnut concept. Compare its effect on the room as a whole, then inspect adjacent surfaces and openings for unintended changes. This is a sequence of visual decisions, not proof that every detail will remain identical.
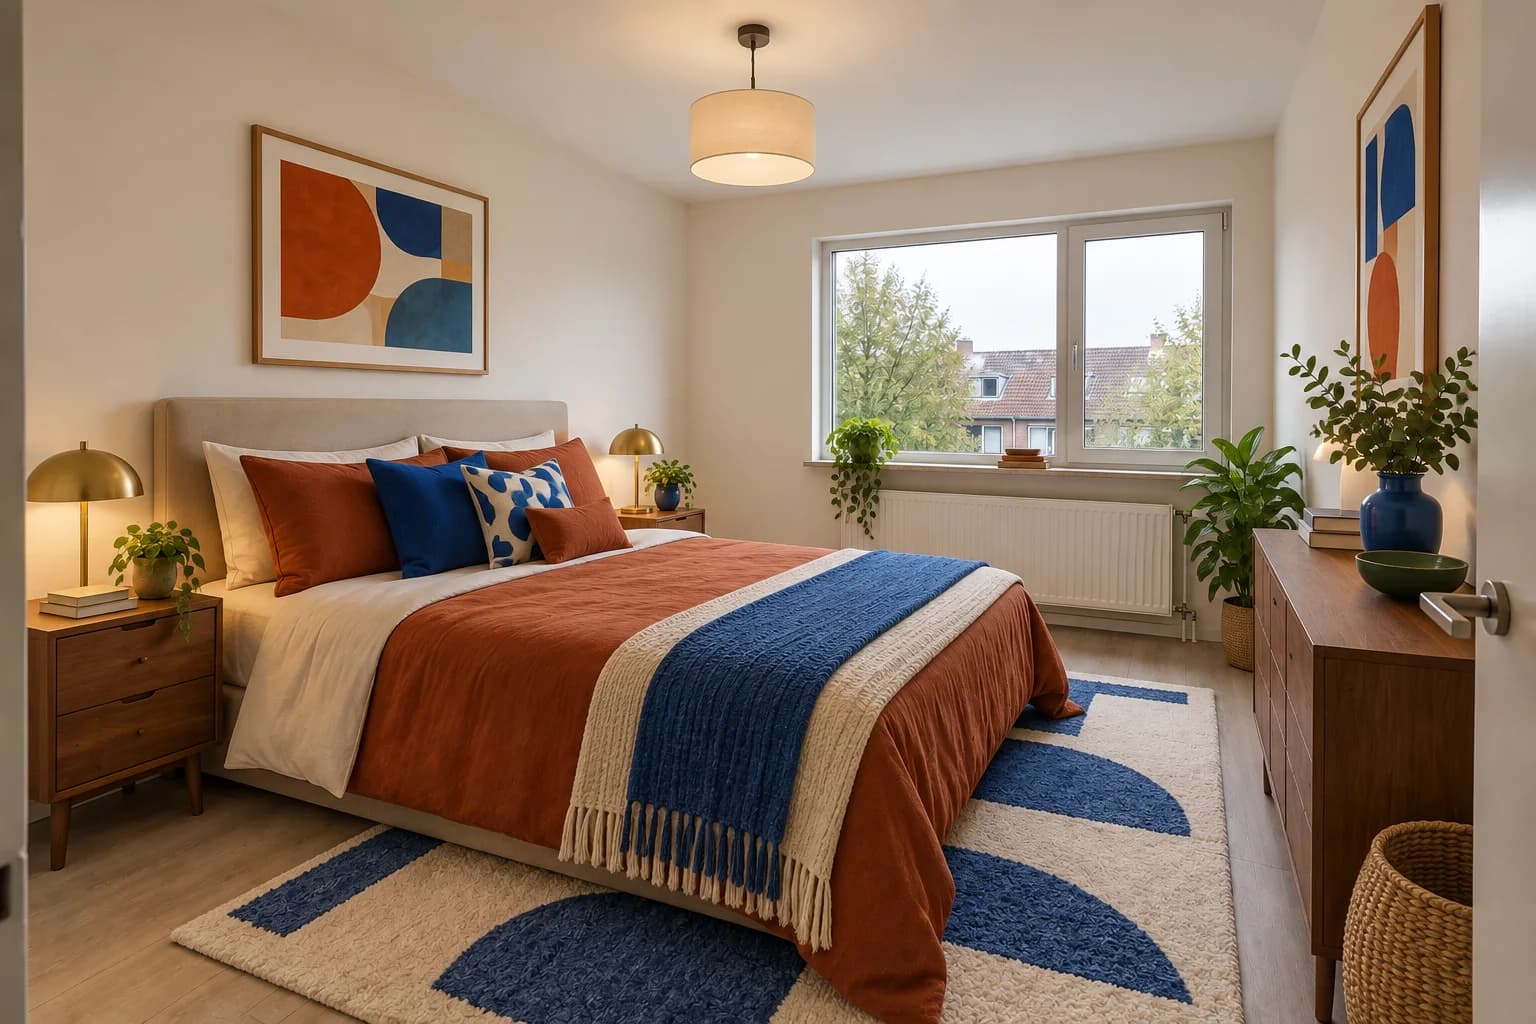
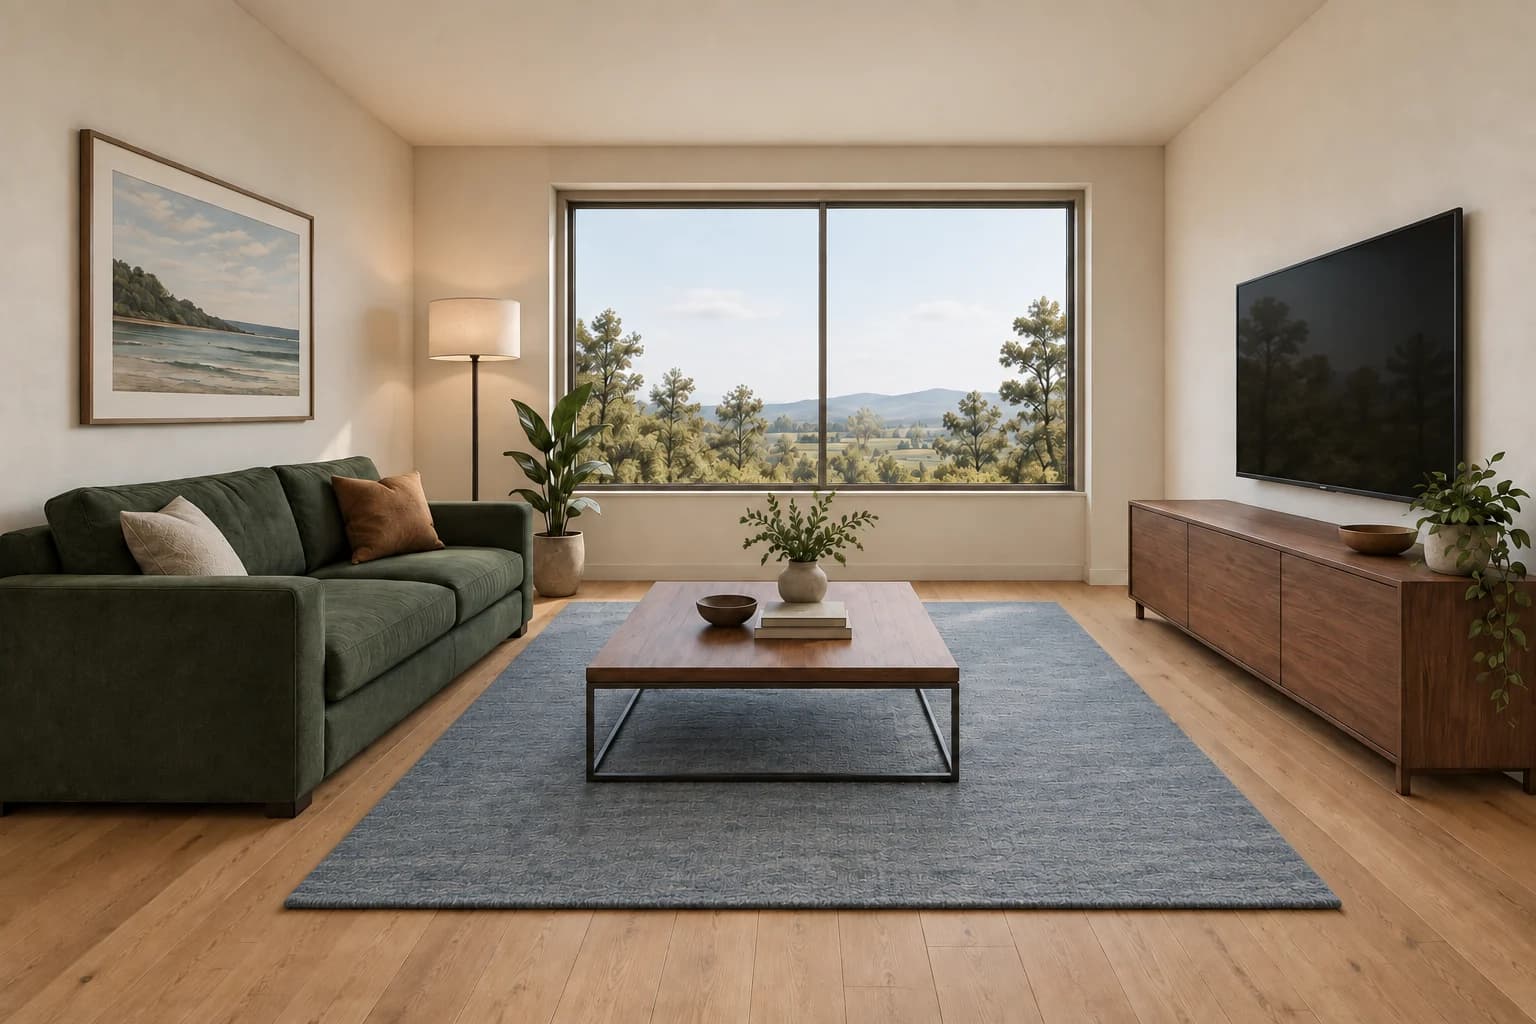
Choose Room redesign when you want to explore a new look from a photo. Choose Match a style when a separate inspiration image should guide the mood and materials. Choose Sketch / model view when your starting point is a drawing or an exported image of your design.
These are deliberate choices you make in the product. They help give the input the right role. A room photo tells the model where the design should happen; a reference supplies a direction; a sketch describes forms that can be visualized with materials and light.
Room photo → new paletteRoom and inspiration → a translated styleSketch → a visual concept
04 / Keep the next instruction focused
Say what the next image needs to answer.
A first brief can be broad enough to explore the mood of the room. Once a direction works, smaller instructions help you understand whether a specific change improves it. Use a selected successful result as the base, rather than writing an entirely new brief every time.
For this kitchen, the follow-up concentrates on the tile. The instruction also identifies the surfaces and positions that should remain. The result still needs review: AI can adjust details beyond the named change, so keep the previous image close by.
An instruction you can adapt
Change the grey splashback to deep burgundy glazed rectangular tile. Keep the graphite lower cabinets, walnut upper cabinets, pale worktop, terracotta floor, appliance positions and camera viewpoint as consistent as possible.
05 / Keep the work connected
Save the direction and the reason behind it.
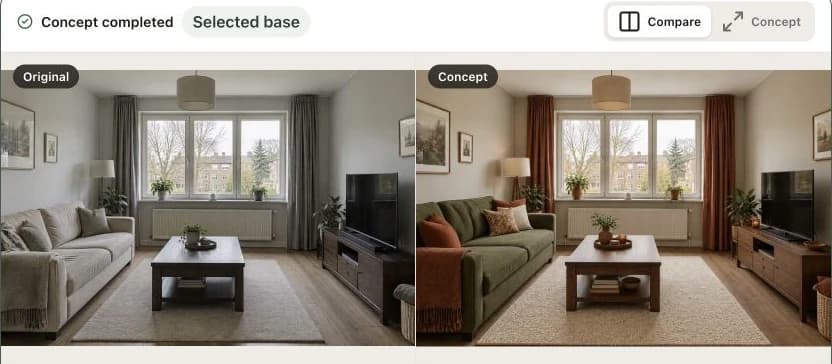
Your project keeps the instructions and generated results together. When you return later, you can see what each attempt was exploring and choose which version to continue. A useful workflow leaves you with a clearer decision, not just more images to sort through.
Download a chosen concept for your next conversation. Explain the palette or finish relationship you want to discuss, and keep actual measurements and product selection in the next stage of the design process. The image is a way to make the idea concrete.
Compare the selected concept with the original room
Good to know
A few questions before you start.
Do I need a finished design brief?+
No. Start with a room photo and one clear goal, such as a warmer palette or a different cabinet finish. Make the brief more specific as you compare the results.
Does Vizterior automatically choose the workflow?+
You choose the starting workflow: Room redesign, Match a style or Sketch / model view. This page shows how those options fit into a design process rather than promising an autonomous general design adviser.
When should I add a style reference?+
Use a reference when a particular image communicates the palette, materials or mood you want. Keep it separate from your room image and explain which qualities should carry across.
How do I continue a useful result?+
Select a successful result as the base for a follow-up instruction. Name the change you want and check the rest of the image for unintended differences.
Can I use this for a renovation decision?+
Use the concepts to explore a direction and communicate preferences. Verify dimensions, materials, product availability and construction details before acting on the image.
What should I prepare before starting?+
A clear photo or sketch, a short description of your goal and a list of important elements to retain. If matching a style, also prepare a reference image you have permission to use.