We use analytics cookies to understand traffic and improve Vizterior. They load only if you accept—declining won't limit the site in any way. See our Privacy Policy.
Give your interior sketch materials, light and atmosphere.
Start from a perspective sketch or an image of your model view. Explore how the room could feel, then refine the materials that make the concept yours.
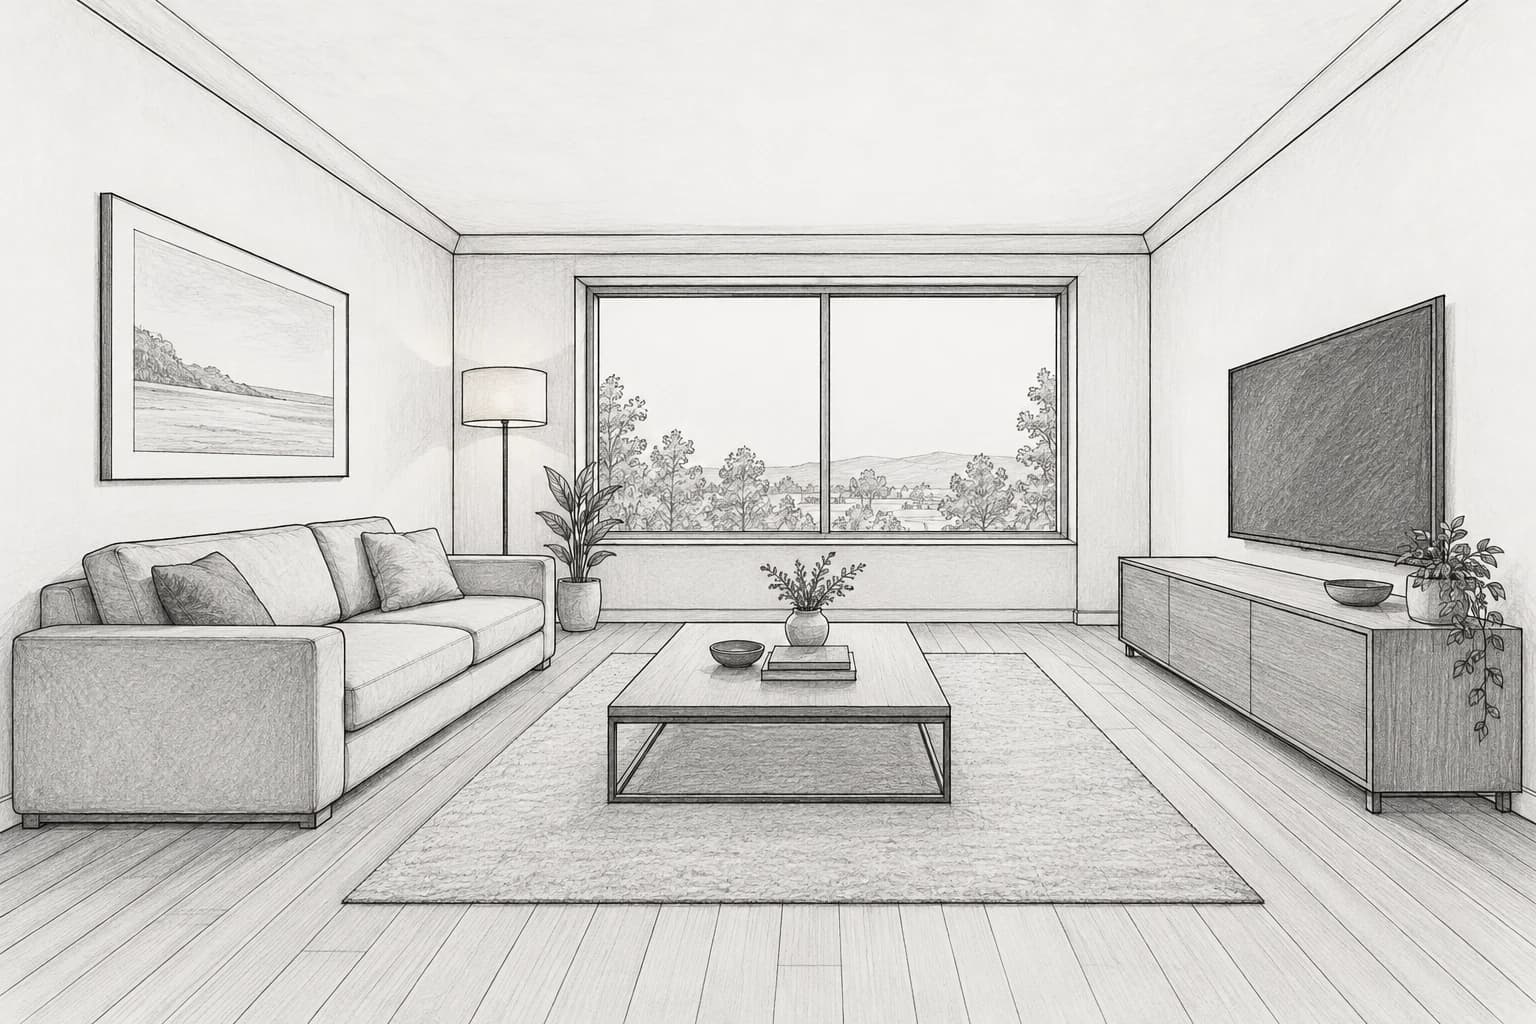
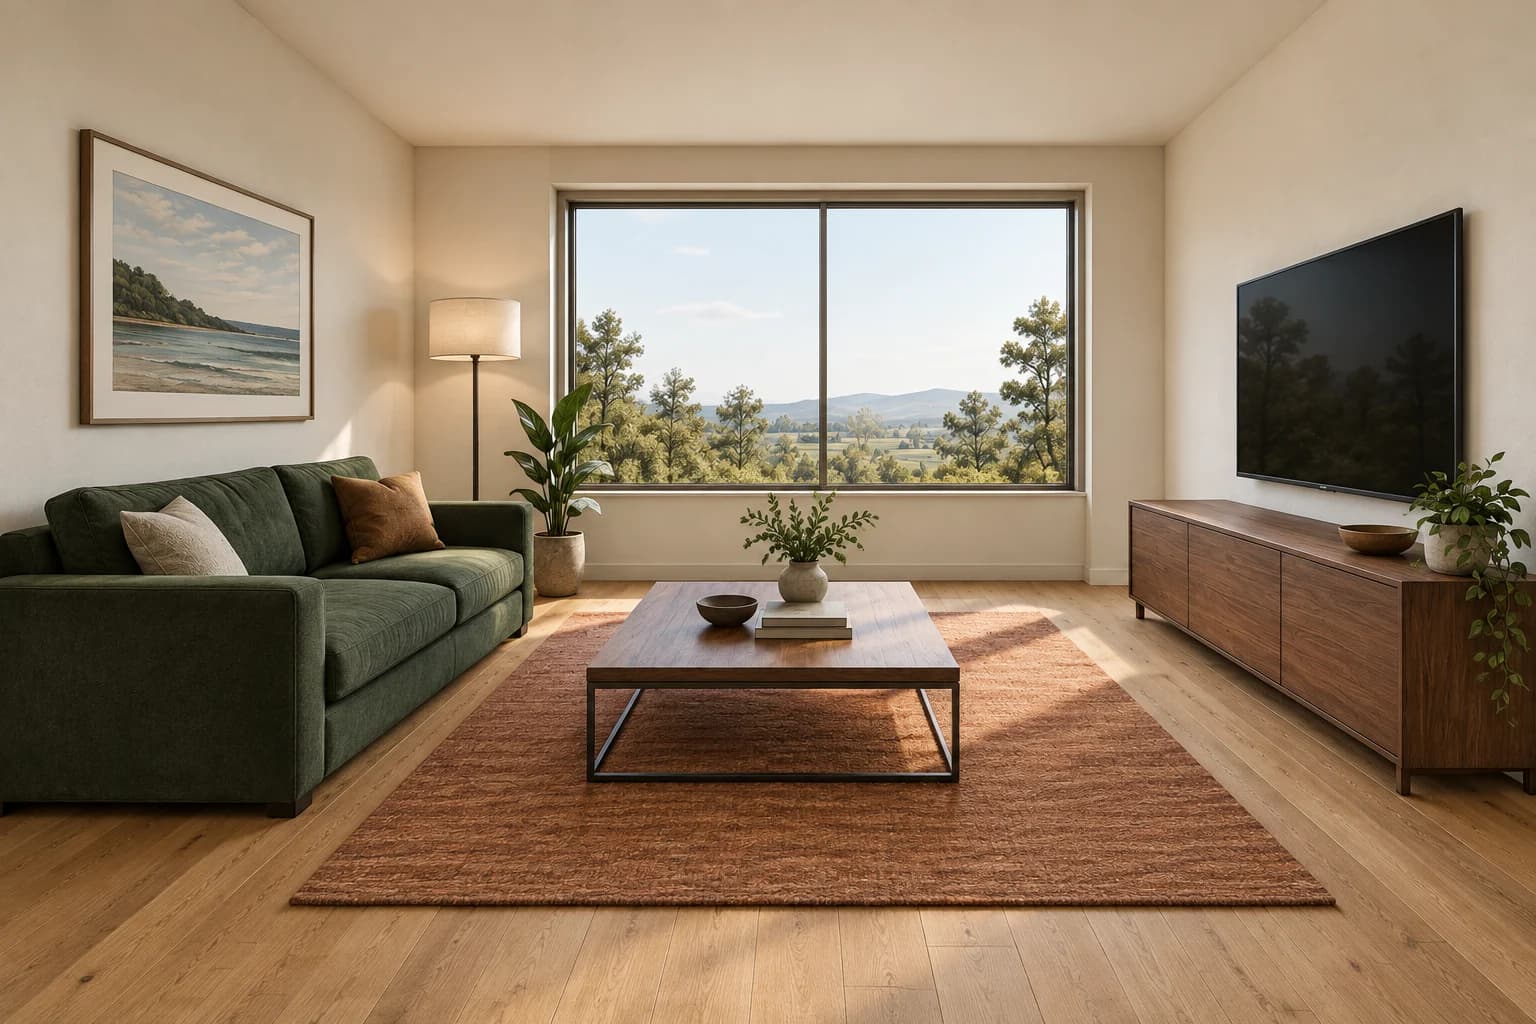
The perspective sketchA forest-green and walnut concept
01 / Start with a readable view
A sketch or a model-view image. A clear place to begin.
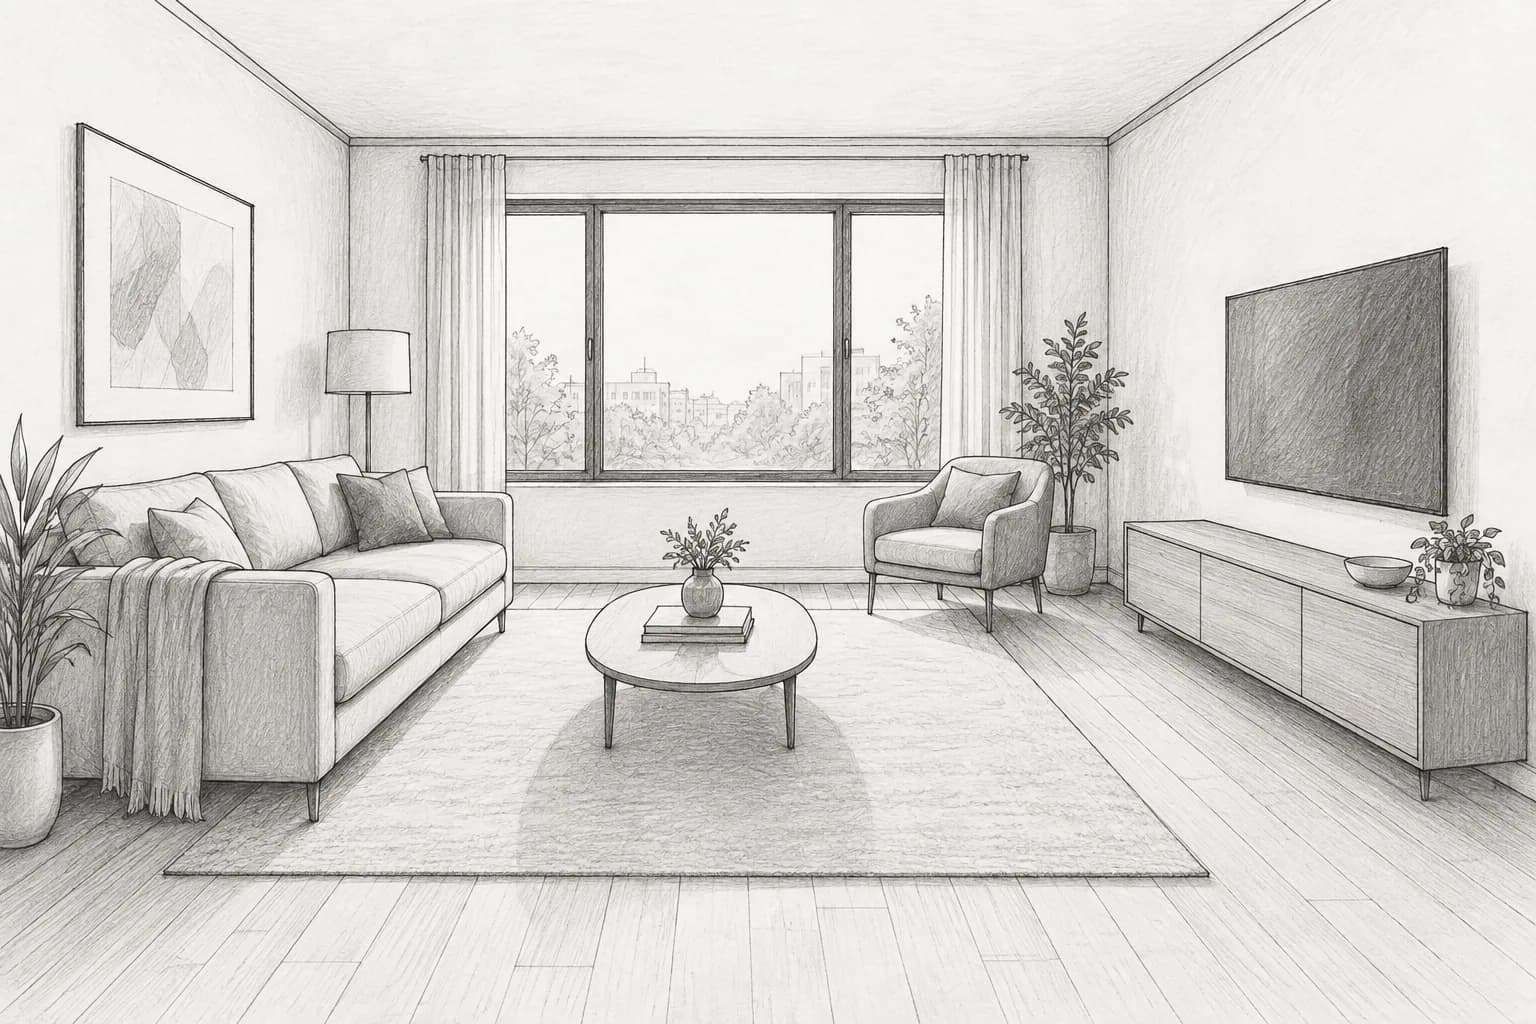
A perspective sketch can describe the room before you have chosen every finish. A model-view image can show its main forms without a complete lighting or material setup. In Vizterior, both begin as images in a Sketch / model view project.
Export a readable view from the software you use and upload the image. This workflow does not import an editable CAD or BIM model, and the output does not update that model. It gives you a visual concept to consider alongside your original design.
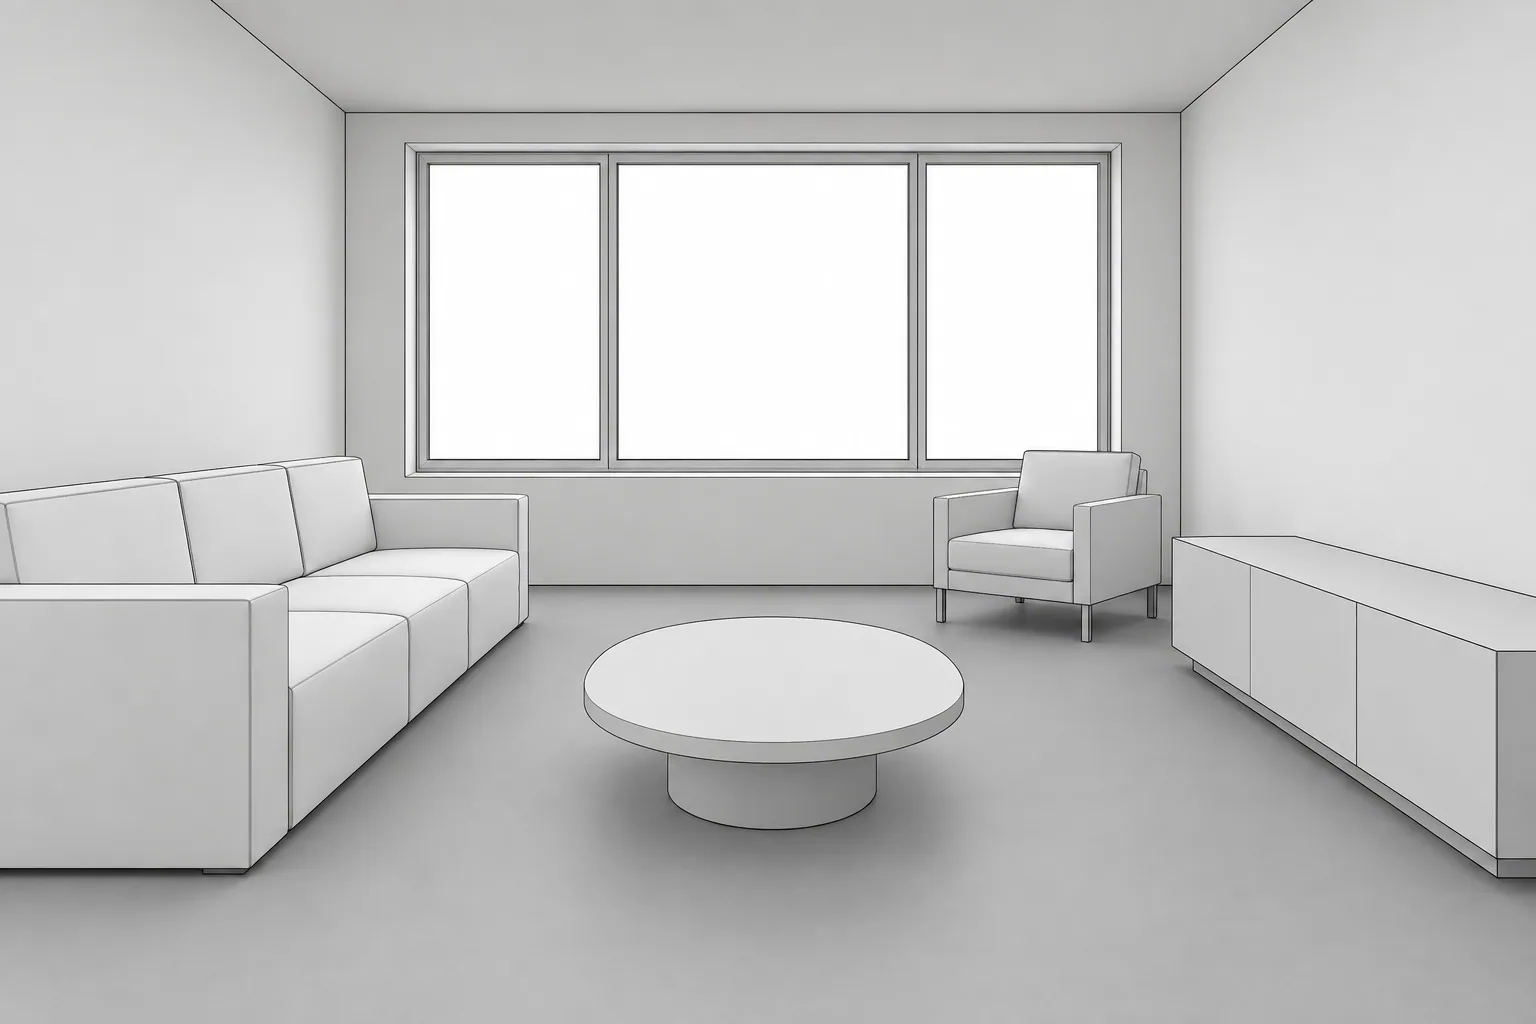
A perspective drawingA model-view style image
02 / Follow one concept
From linework to a material story.
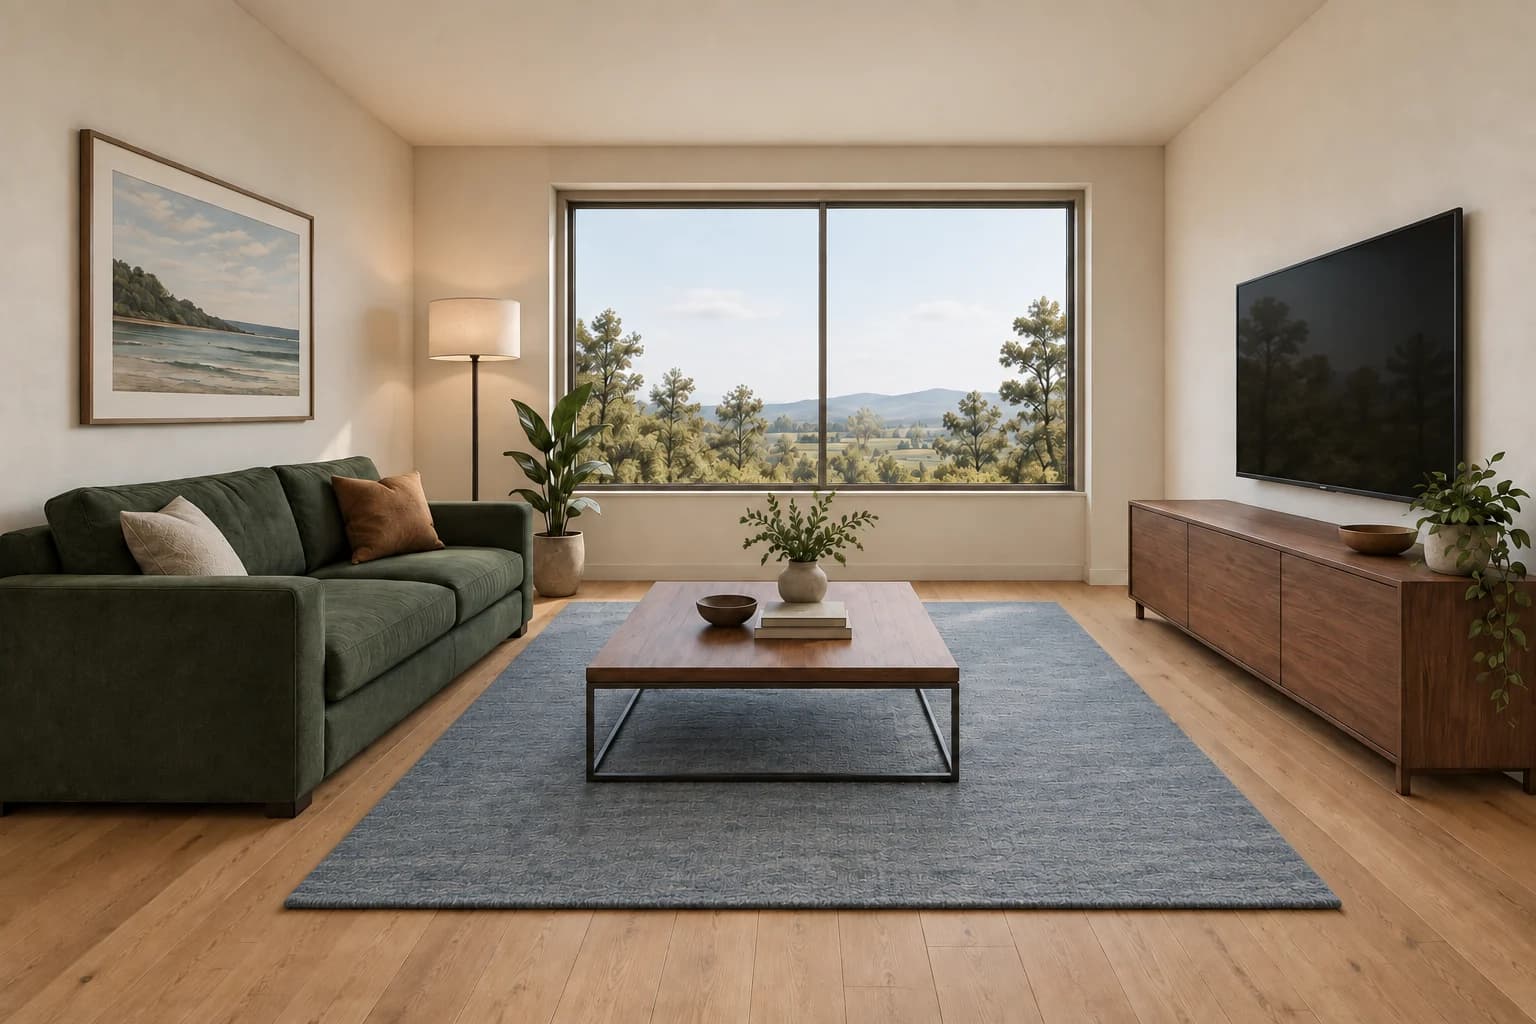
The sketch establishes a window, sofa, central table and storage. A first brief gives those forms a forest-green, walnut and rust palette. This makes it easier to discuss warmth, contrast and the balance of the larger elements together.
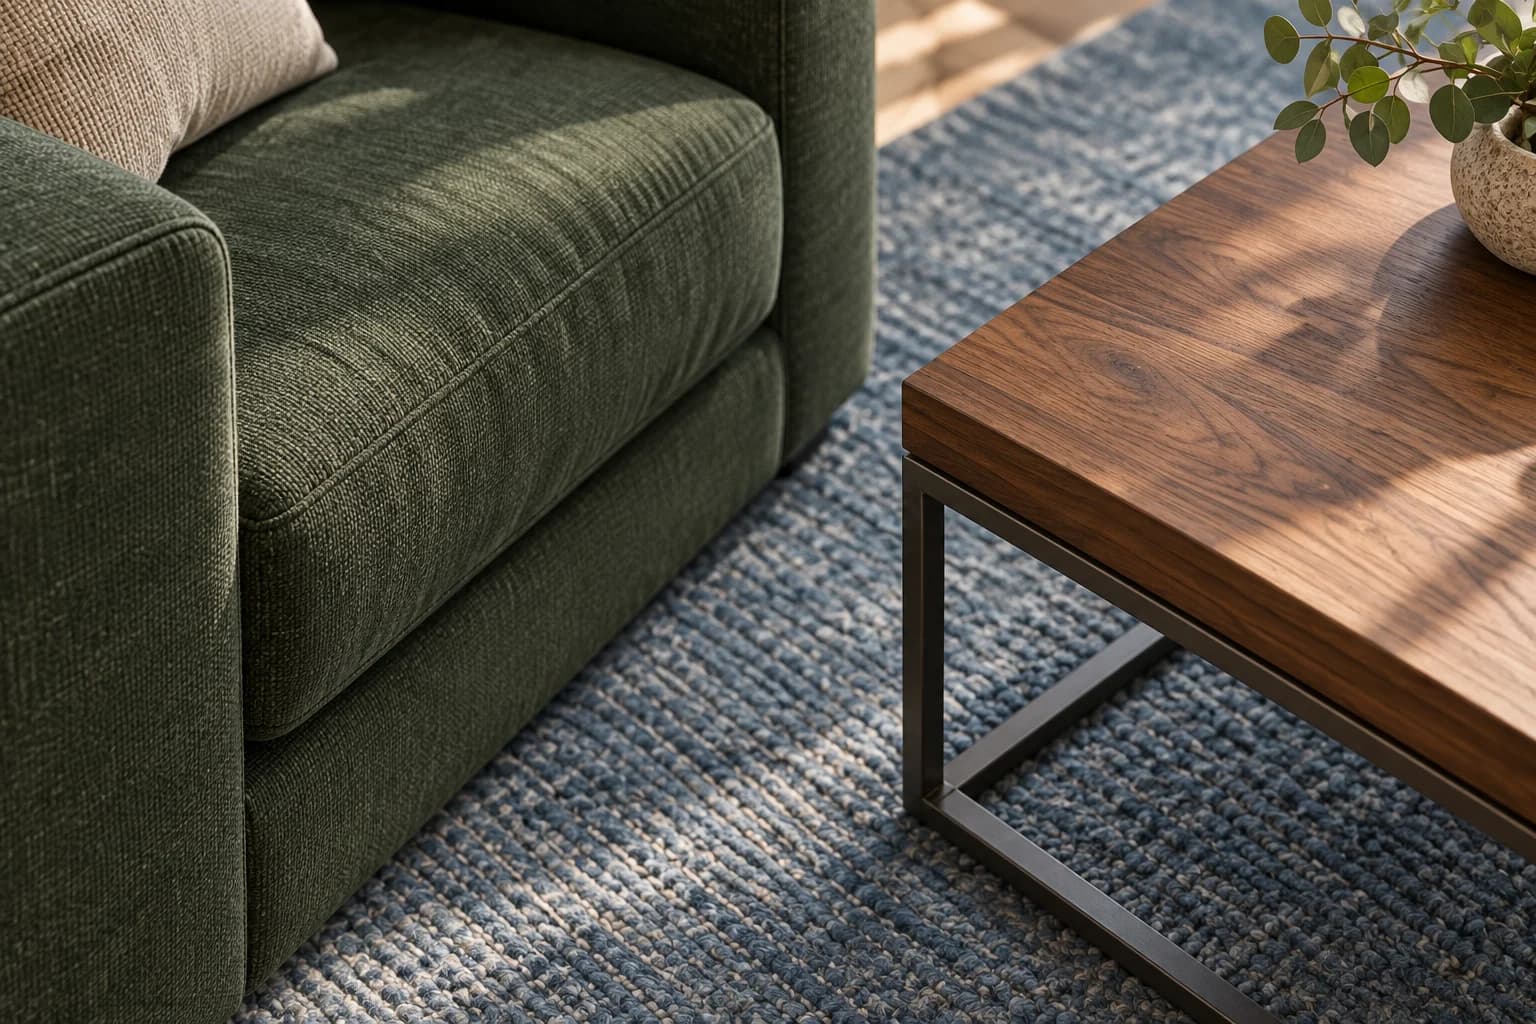
The next version changes the rug toward dusty blue and softens the daylight. Compare both results with the sketch as well as each other: materials may improve while a shape or edge drifts. Keep the source drawing as the design reference throughout the process.
01 / Linework02 / Green, walnut and rust03 / A softer blue rug and light
A simple view can help isolate massing and furniture arrangement before styling. Ask for a material and lighting direction that supports those forms. Keep the camera and openings explicit in your instruction, especially when the input is sparse.
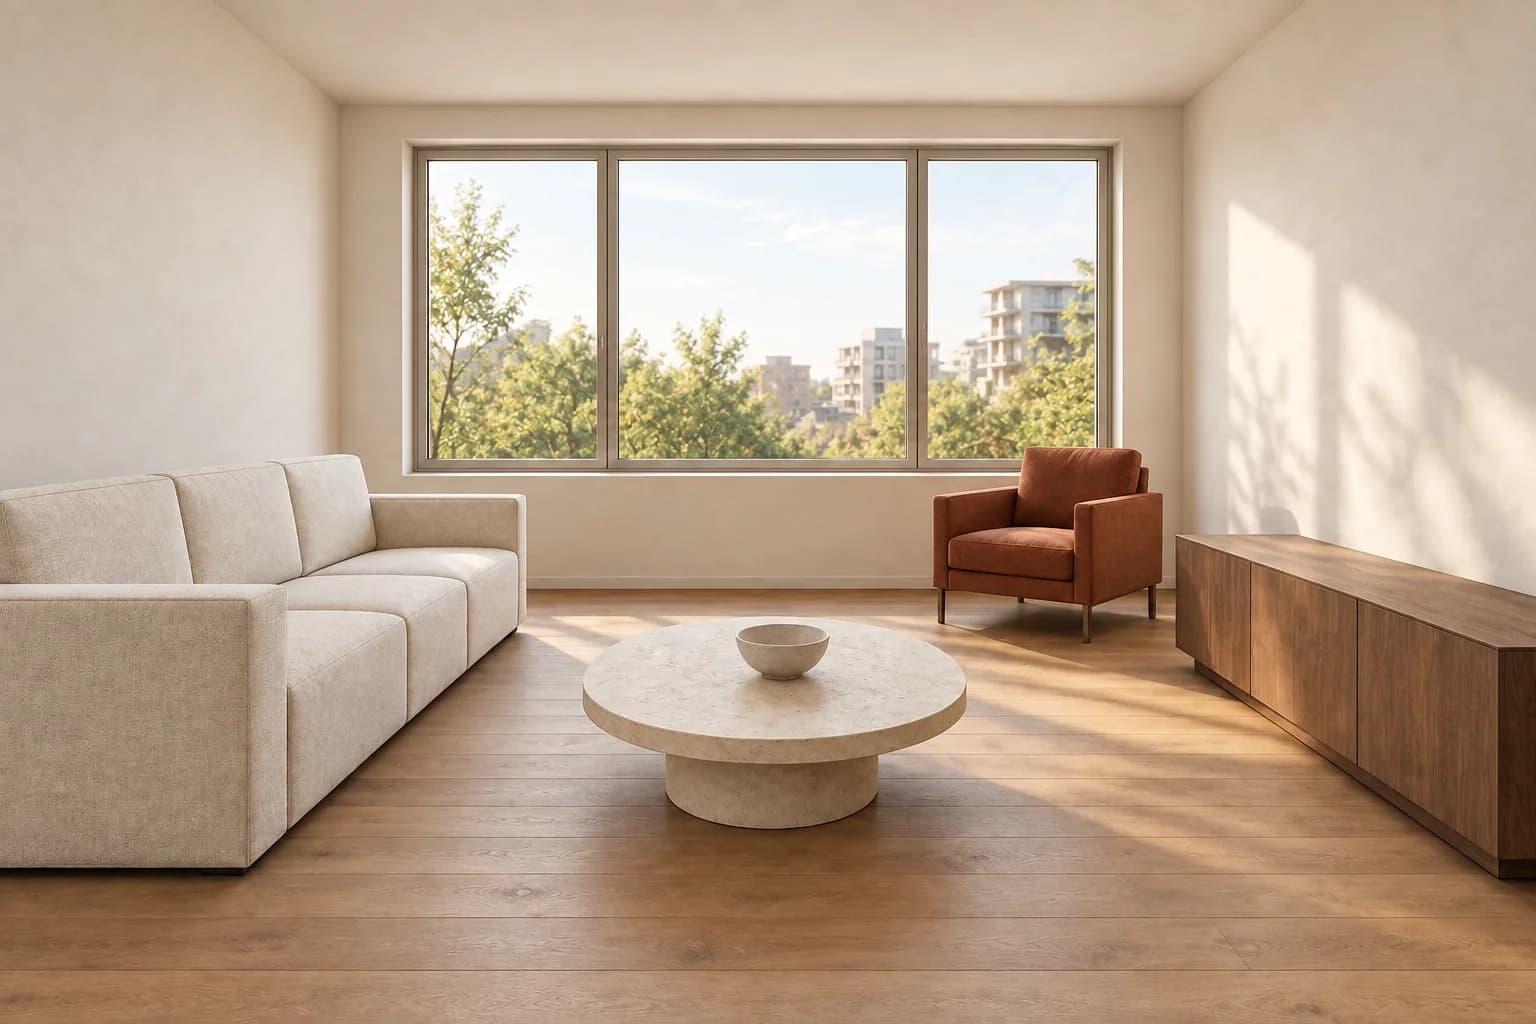
The pair below illustrates the move from a model-view style input to a finished-looking concept. Use this kind of study to discuss a visual direction, while your original model remains the source for dimensions and technical decisions.
Model-view style inputMaterials and daylight
04 / Make the brief tangible
Name what the lines should become.
Specify a few important surfaces and the lighting character. ‘Walnut storage, an olive fabric sofa and diffuse daylight’ is more actionable than ‘make it realistic’. Avoid asking for contradictory lighting or several unrelated styles in the same first image.
If a particular form matters, identify it in the instruction. Compare the output with the drawing before you spend time refining smaller details. AI may reinterpret unclear linework, so keep the composition readable and remove unnecessary visual clutter from the input.
An instruction you can adapt
Visualize this interior sketch with a forest-green fabric sofa, walnut furniture, pale walls and an oak floor. Use soft natural daylight. Keep the window, camera viewpoint and furniture arrangement as consistent as possible. Do not add new openings.
Use it in the next design conversation
Show the idea. Keep checking the design.
A concept image can help a client or collaborator respond to atmosphere, material balance and contrast. Present it with a short explanation of the decision it explores. This makes feedback more useful than simply asking whether the image looks nice.
Before moving forward, check window and door positions, cabinet continuity, circulation and furniture scale. A convincing image can still contain impossible details. Resolve dimensions, construction and specification in the appropriate design tools.
Keep the original drawing beside the concept.
Explain which visual decision the version explores.
Verify geometry and technical details separately.
Look closely at joins, edges and material transitions
Good to know
A few questions before you start.
What can I upload for interior AI rendering?+
Start with a readable image of a perspective sketch or an exported model view. Choose Sketch / model view when creating the project. Use an image format accepted by the uploader rather than the editable source model.
Does Vizterior import SketchUp, CAD or BIM files?+
This workflow starts from an image of your view. It does not import or edit the underlying 3D or CAD file. Export a view from your design software and retain the original model for technical work.
Will the render preserve exact dimensions?+
No exact dimensional guarantee is implied. AI can reinterpret proportions and details. Compare the image with your drawing and use the original design files to verify measurements.
Can I choose the materials?+
Describe the visible materials you want in the instruction. Use a clear palette for the first result, then refine selected surfaces. Generated textures are visual suggestions rather than a verified product specification.
Can I refine the first render?+
Select a successful result as the base for a follow-up generation. Ask for a focused adjustment, such as a rug color or softer light, and review the rest of the room for unintended changes.
Is this a replacement for a professional rendering workflow?+
It is useful for exploring and communicating visual concepts. Tasks that require exact geometry, repeatable product placement or technical deliverables still need the appropriate modeling and rendering workflow.